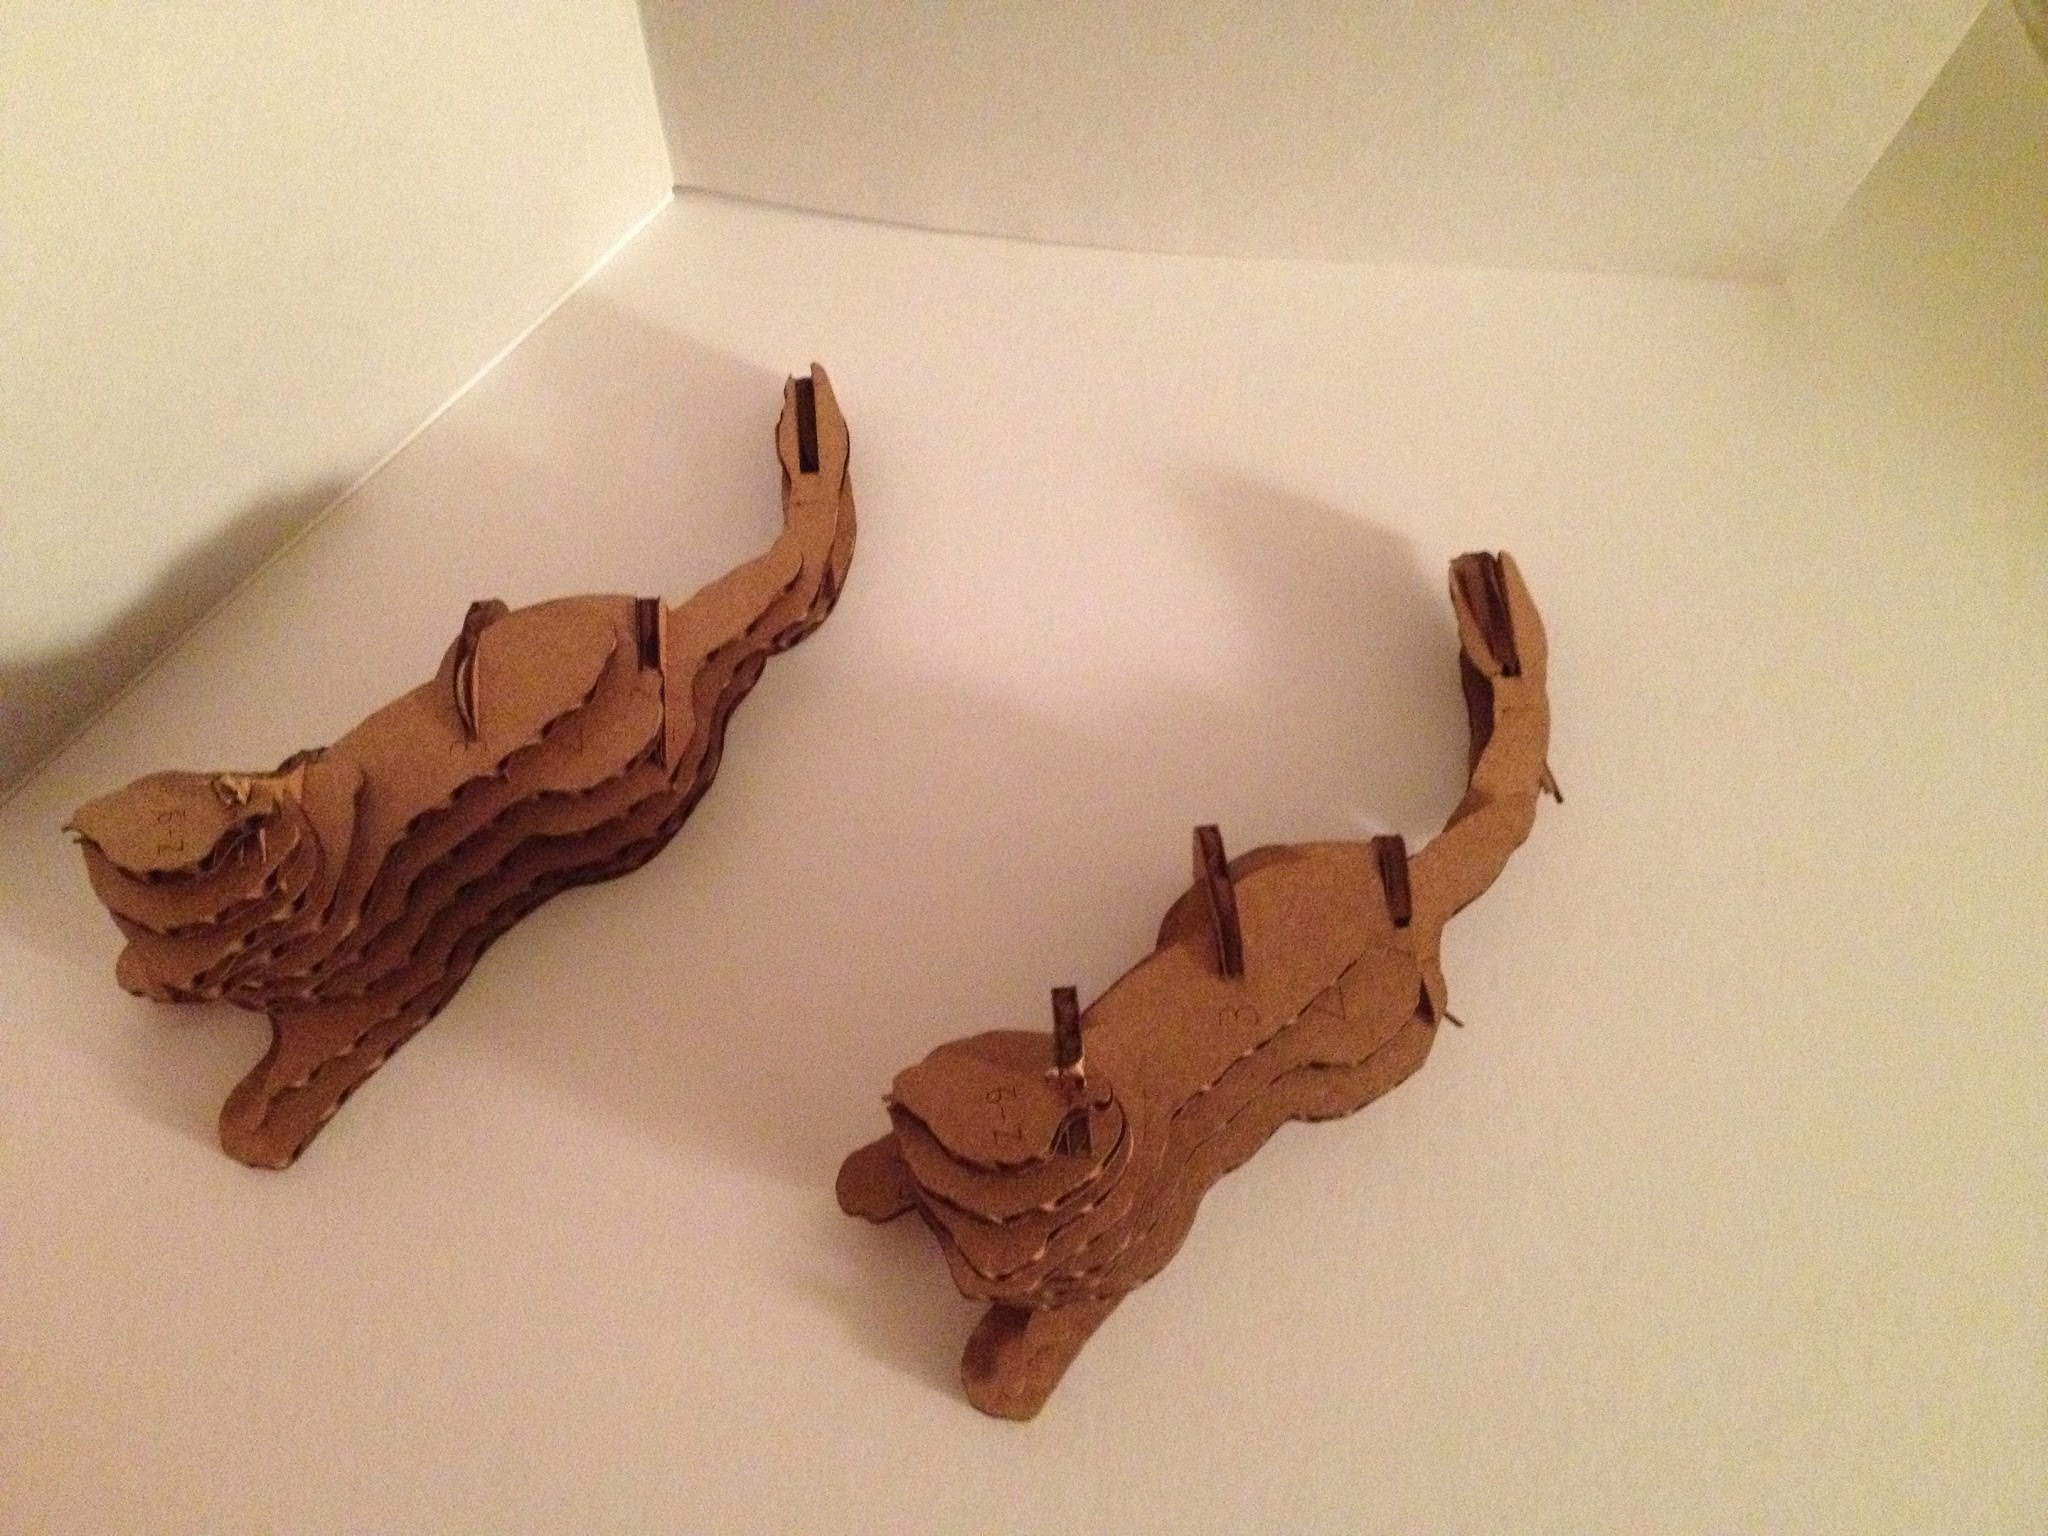
So far I have been able to use both laser cutters, the one from FabLab and the other in the Threedee Workshop. The first object 'the cat' was cut with the FabLab laser cutter and 4mm corrugated cardboard. The 2nd object was cut with the Threedee Workshop laser cutter and I used 4mm plywood.
This object is 200mmx200mm and been made with 4mm cardboard.
There are a few too many horizontal slices as it was rather tricky to put it all together. In the process of trying to fit all the slices together I squished some slices to make them fit better but the it affected the whole object and makes it look a bit of a sloppy job.
Next time I would try to use less horizontal slices and a few more vertical slices. So it is more even throughout the object and easier to put together.
These objects are 50mmx50mm. Therefore a lot smaller pieces than the previous cardboard object. The 4mm plywood was slightly bent, from storage, which meant that I had to stick the plywood onto the laser cutter bed. This also meant that whilst cutting it sometimes popped up, the tape came undone form the bed, which meant that it would change the angle of the laser. So some profiles were cut slightly differently to others. Also some didn't fully cut through so I had to redo them which meant that they ended up slightly smaller.
Slices dont fit quite together as I faced some problems with the plywood and laser cutter.
This one somehow ended up not being able to be put together even though I used the function interlocked slices with this one swell. I also have lost some slices in the bed of the cutter as they were so small.


